1) Create a new "vendor" for each one of your cost centers. So if you have three retail locations, create three different vendors for each retail store.

2) When you enter the new expense, select the appropriate vendor under "who did you pay?". This can be done in the iPhone or iPad

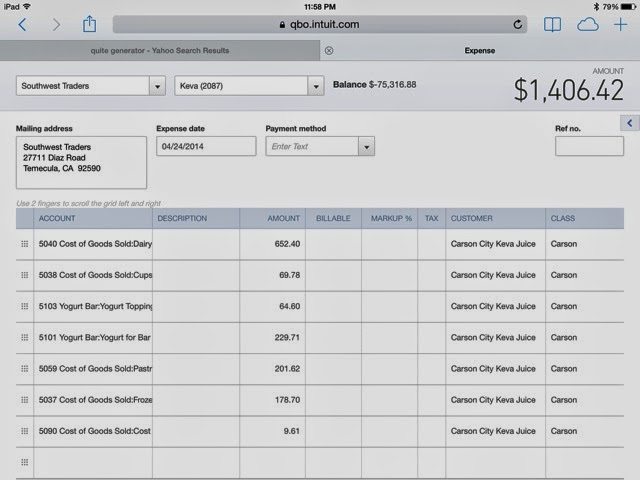
3) To complete the expense entry, log in to Quickbooks Online via a web browser. Click on the expense and you will see that the appropriate cost center is listed under "customer", while the class fields are blank. All you need to do is update the class fields to match the customer fields.
No comments:
Post a Comment